
Video
Timelapse
From zero to Zebra!
Watch the full screencast. starting from empty screen to posing the zebras, ready for packing and setting our upload to Sketchfab.
Looking at artistic and professional photos of the animal on Pinterest I got a great starting point. It is my first source of inspiration for final looks and reference images.
Later from Google Images, I did some research about zebras like height, colors, poses and details from the main silhouette and I got some anatomy references to make a board with details that had to be included.
I downloaded some references for modelling and mainly used a side view. In order to have a more natural proportion, I scaled the reference image to fit the real height of the zebra and placed the feet on 0,0,0.
Fun Fact: Zebras are actually black. Under the stripey hair, their skin is totally black.
- Base Mesh
- Details over the face
- Knife tool for stripes
- Clening mesh
- Applying materials
- Armature & Posing
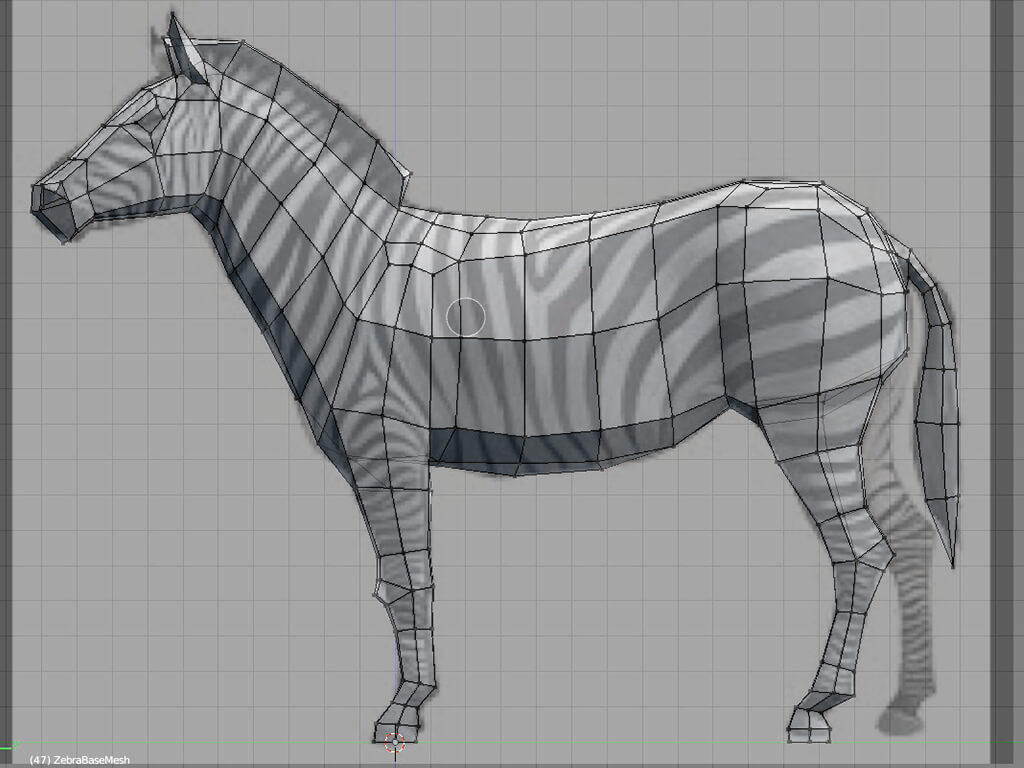
I started making the main shape of the zebra using the Mirror modifier with clipping option activated. I did this mainly by extruding squares to fit the main lines of the animal, surrounding legs and shoulders and leaving extra loops there for better deformation when posing.
Details over the face
At the end more details were applied to the face, where eyes and nose had to be obvious, even in low poly.
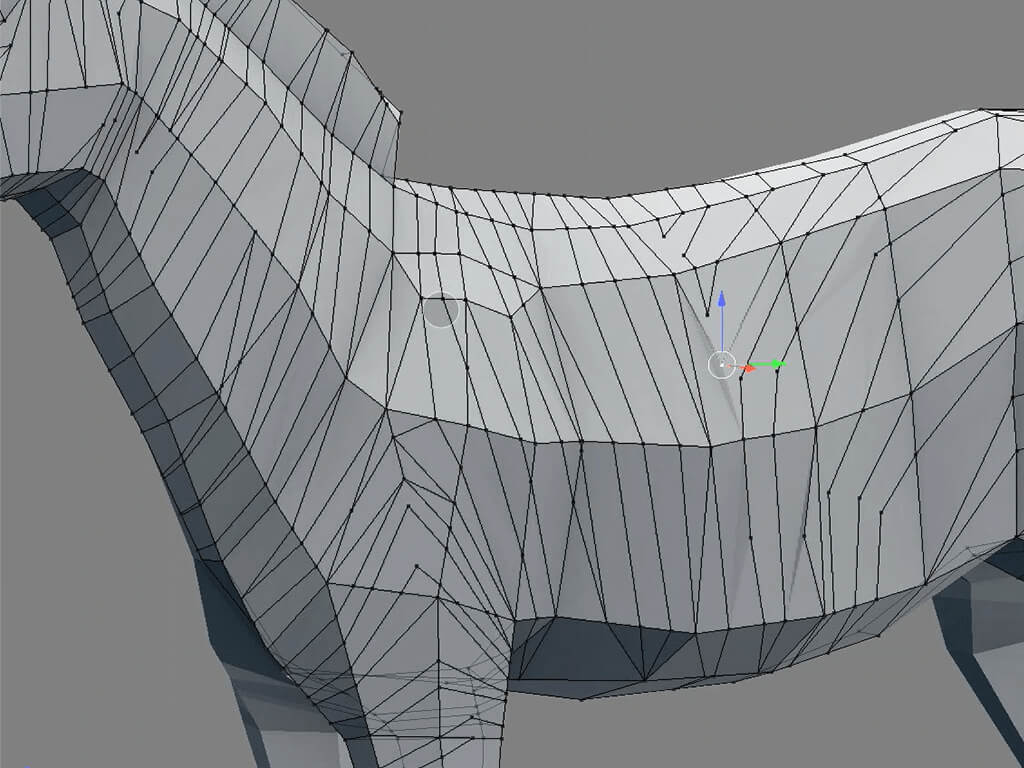
Knife tool for stripes
When the main mesh was ready I started cutting the faces for the stripes, with the Knife tool, to go across the main body, taking care of edges and vertices. When triangles were made too small, I merged the vertices to reduce the number faces.


Clening mesh
Finally I applied a “Triangulate” modifier so that every face was turned into triangles, because some cuts had made them too irregular, impossible to rig correctly. In this case it was necessary because of the stripes, even though triangles are not usually recommended for rigging.
Applying materials
To apply materials, I set up selection to “Faces” and creating both black and white amterials, it was easy to select faces with CTRL+Click in a series of consecutive faces.


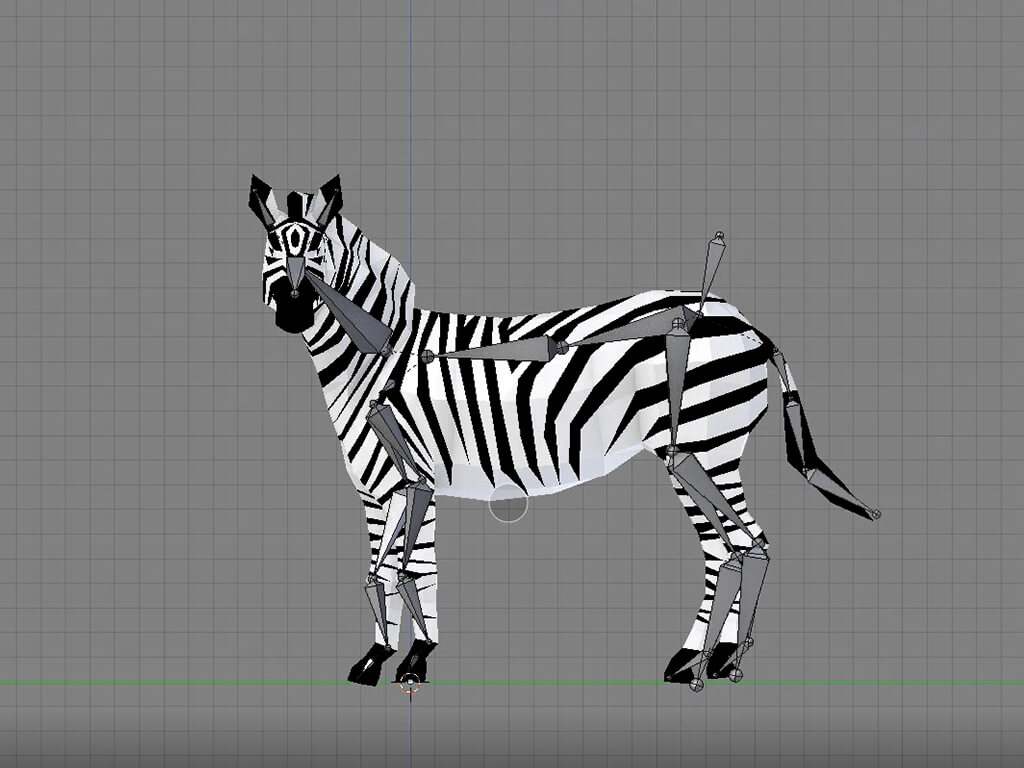
Armature & Posing
When the base mesh was all done I started placing the armature. For this, I added a Human Armature, which has all the basic bones I need, placing all bones and joints in to their places and scaling them to fit the zebra’s body.
I applied the armature and set up automatic weights to do some minor corrections later.
Placing every pose with the animal was easy after setting up the armature correctly; the same mesh could be repeated and put in place for the final model.


Model
Results
Real-time visualization
With our Sketchfab file you can rotate, spin and look them from every angle.